Have you ever thought about building your own outdoor furniture or indoor shelving?
I’m a tech worker by day. Woodworking is not my main expertise, nor is it my calling. Just over a year ago, I decided to buy a saw to break down some lumber I had left over from a renovation.
After watching some safety videos about power tools, I’ve completed more than 10 projects since.
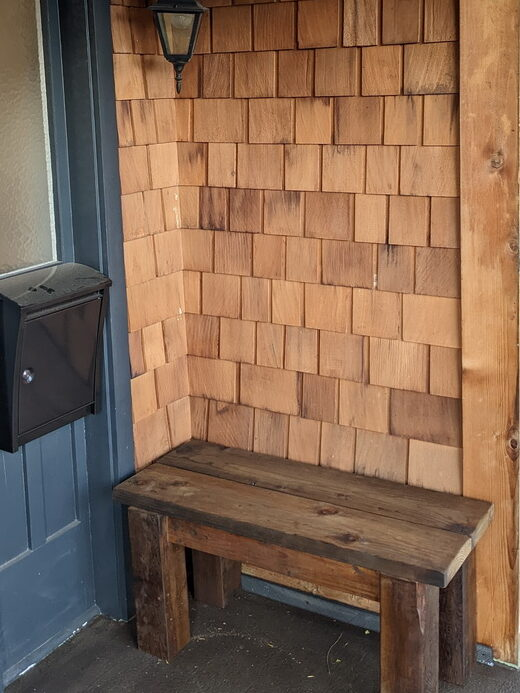
A humble outdoor bench
My first project was a bench inspired by this blog entry by the wonderful folks at Kruse’s Workshop.
I didn’t do everything as specified, but ended up with a usable bench that matches my doorway. Humble, simple, and rustic. But it’s solid and can handle a lot of weight.
I’ve re-stained it since, but this is what it originally looked like.
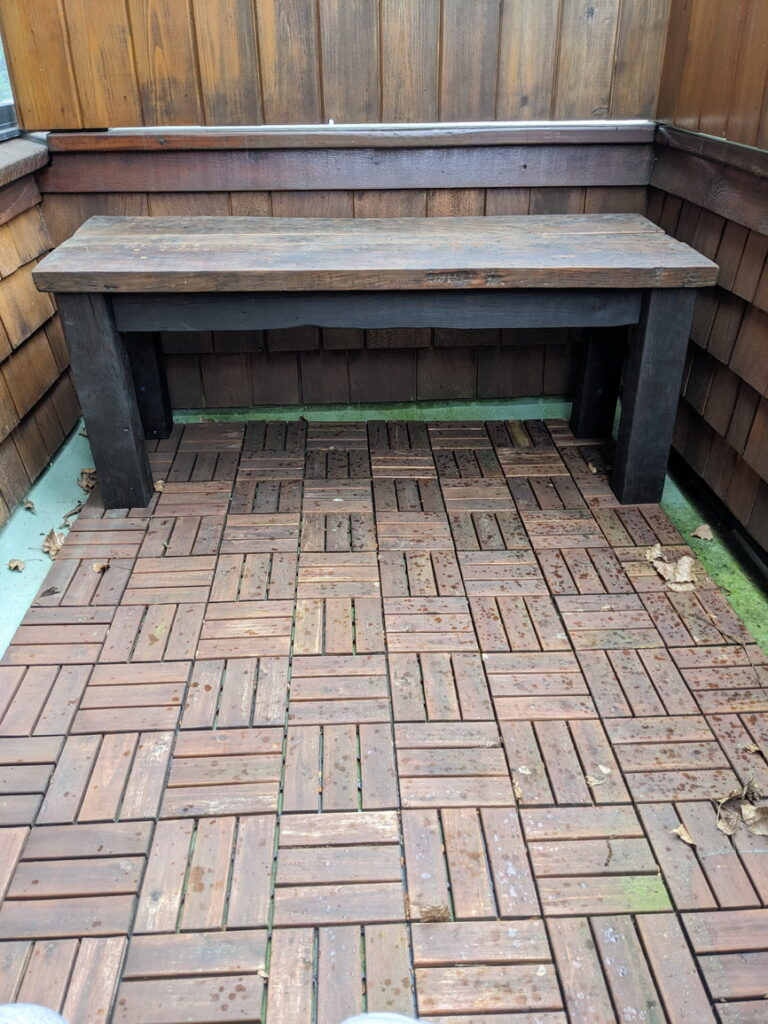
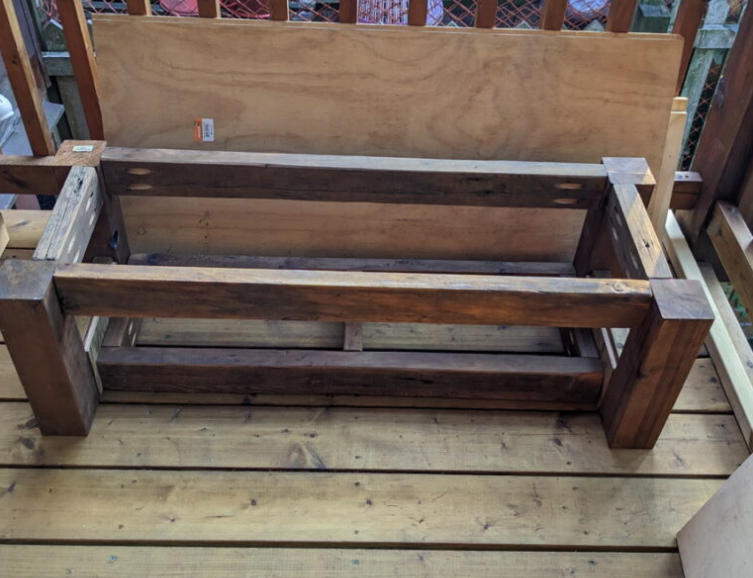
A more ambitious bench
Next, I got a bit more ambitious and built a larger bench using self-reclaimed wood. Here it is after a few rainy days outside.
Materials matter
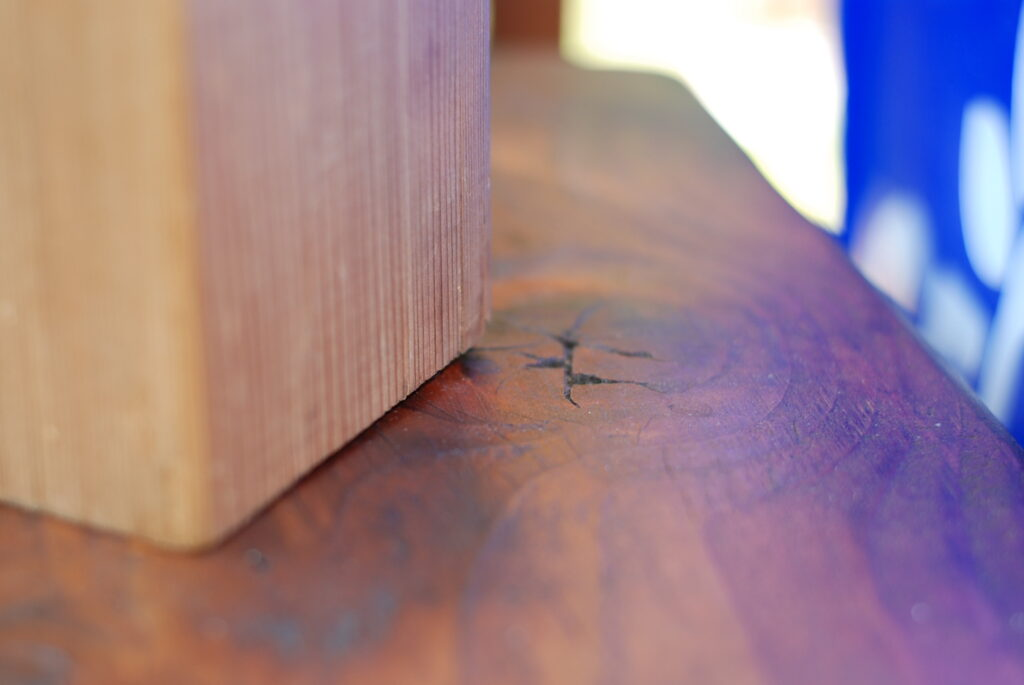
The toughest part of this 48 x 18 inch bench top was using self-reclaimed lumber that had been sitting in my yard for over a year before I even tried DIY-anything.
Before that, it was part of a house from the early 1900s. I don’t recommend using wood like this, especially at the beginning.
Some aged wood can be very hard, flawed, twisted, cupped and bowed, and thus difficult to bend to your will.
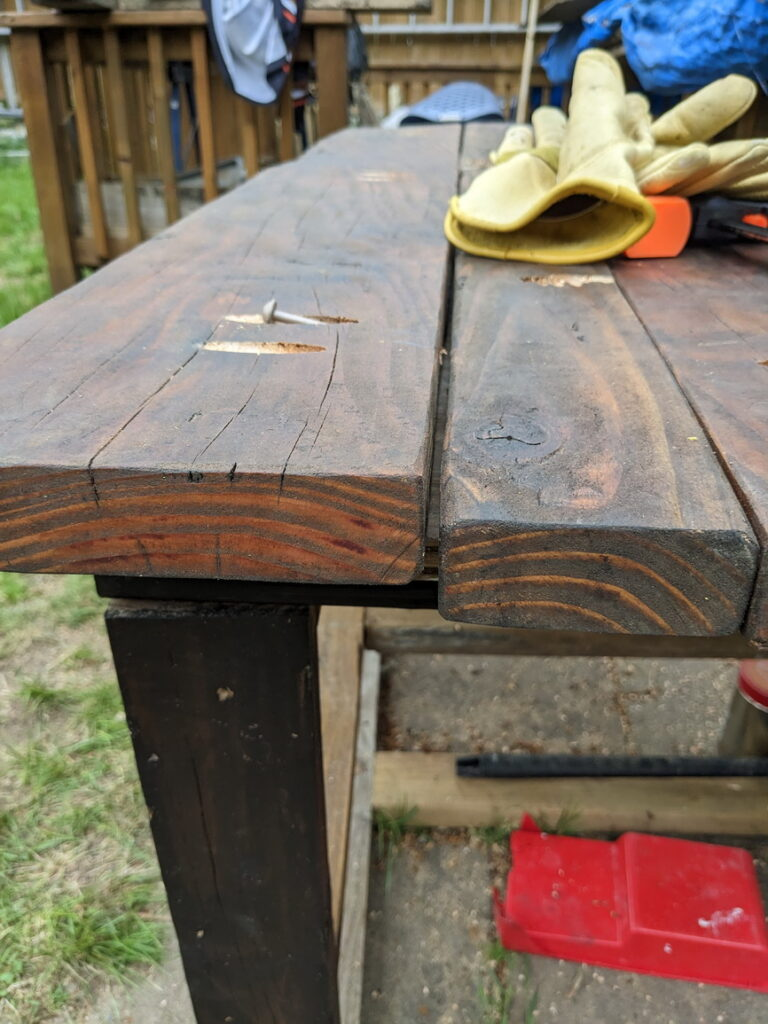
In my coverage of this project, I will talk about the pitfalls I encountered and what I did to remedy them.
Counterintuitively, I found working with heavier, rougher wood of differing densities, species, and age a bit “easier” than working with plywood at first. This might be because putting it outdoors is more forgiving.
I started with outdoor furniture based partly on needing it for my deck, but also because outdoor projects can be more forgiving in the sense of using rougher materials and having more tolerance for lack of skill. Add in the rustic style and you can chalk up imperfections to “character.”
This brings me to a point about my builds and this blog. I have no agenda to prove that my building skills are perfect. They are not. I expect to be a student at this forever. So I’m going to be honest about mistakes I’ve made and how I remedied them.
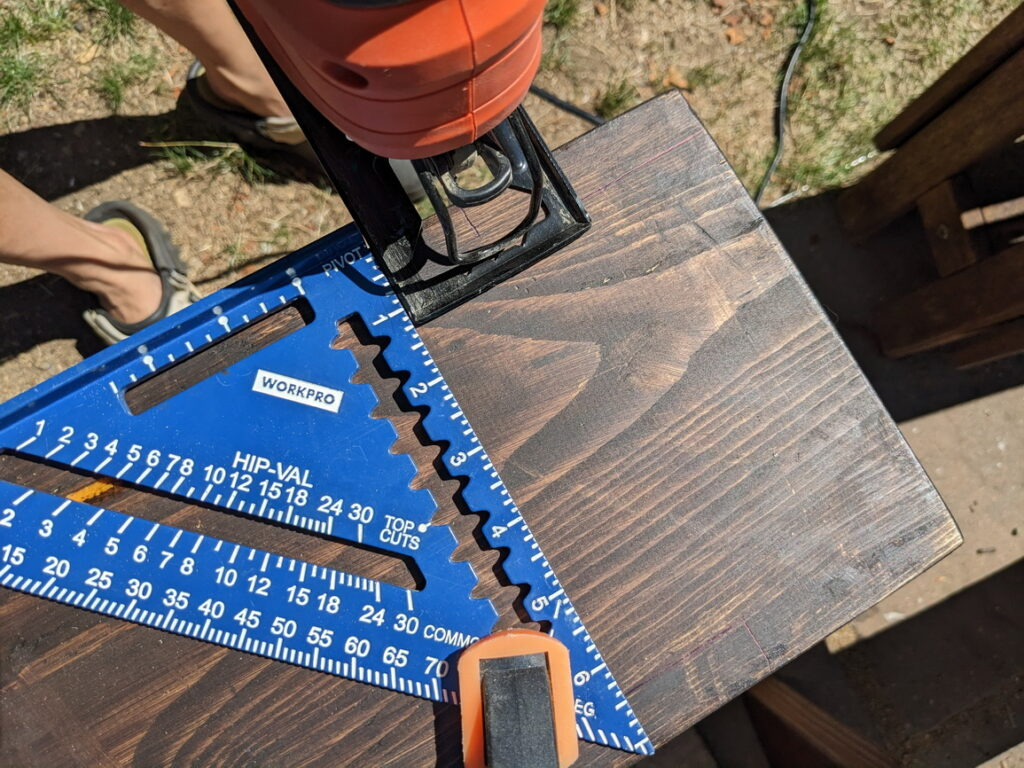
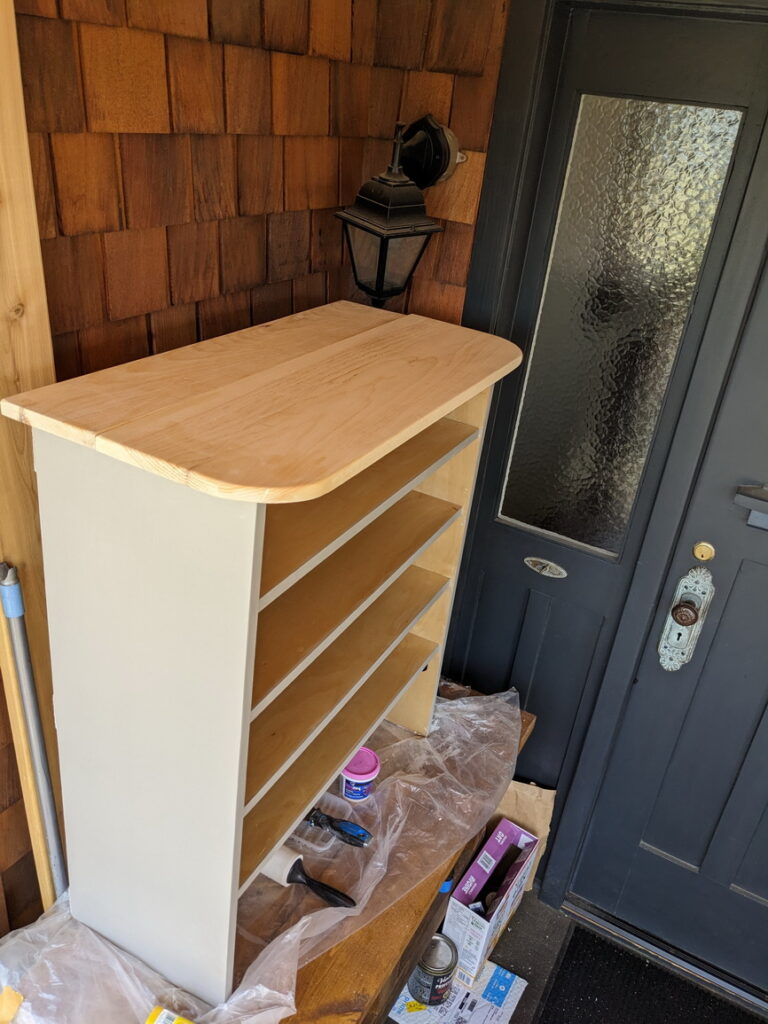
Indoor projects were harder than I expected
Here’s a simple console unit I built for indoors. At the time, I didn’t have a miter saw, nor any sense for using a straight guide for cutting.
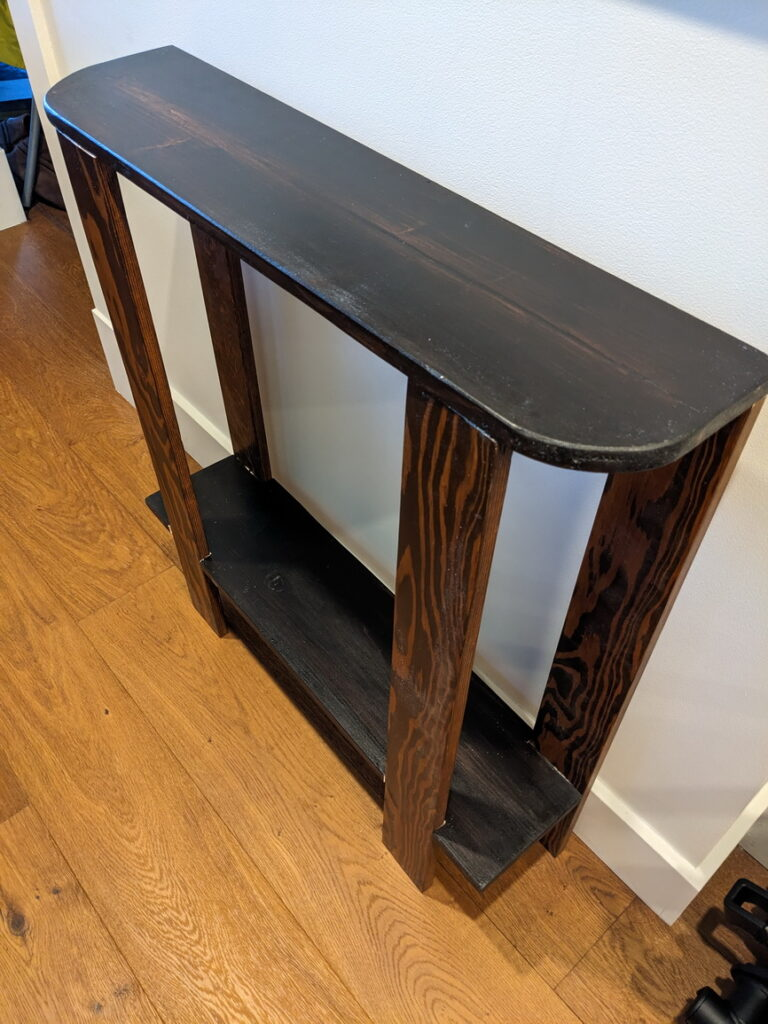
You can probably already see some flaws in the final product. Perhaps unlike other sites, I don’t take photos from angles that hide the defects.
Instead, I explain them, how I and why I think they occurred, and file the lessons away for my next project.
I built all the pieces covered on this site with my own hands. My wife occasionally helps me stain wood.
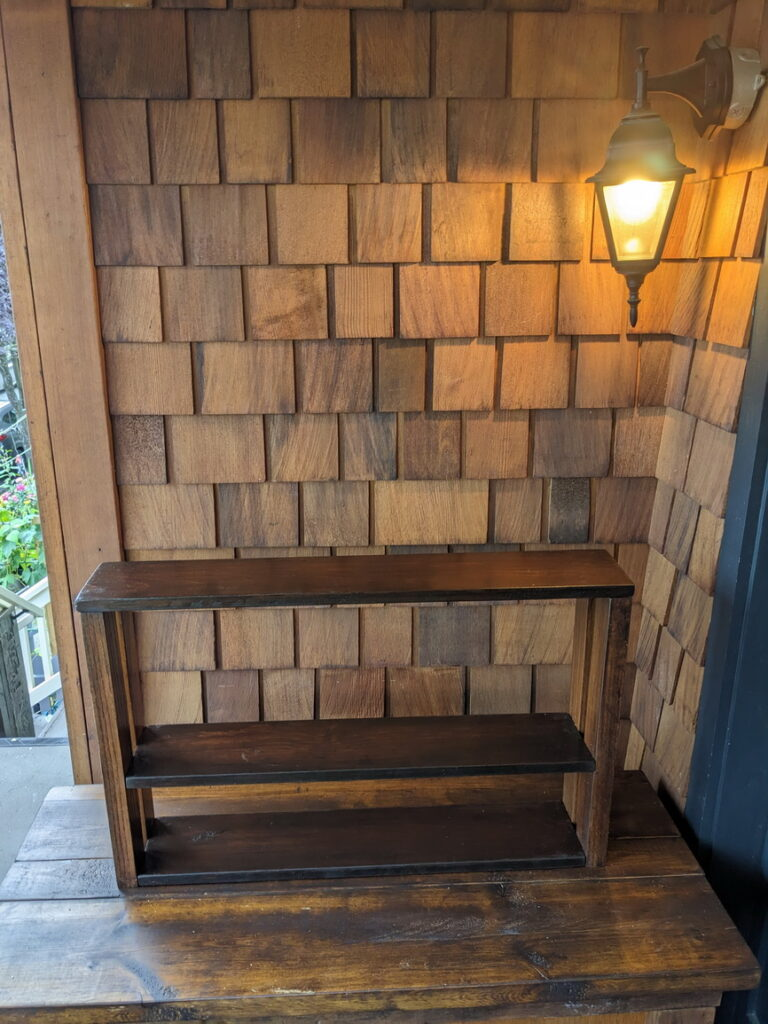
I learned from the console unit in the last photo, and got the corners and joins on this desktop shelf much better.
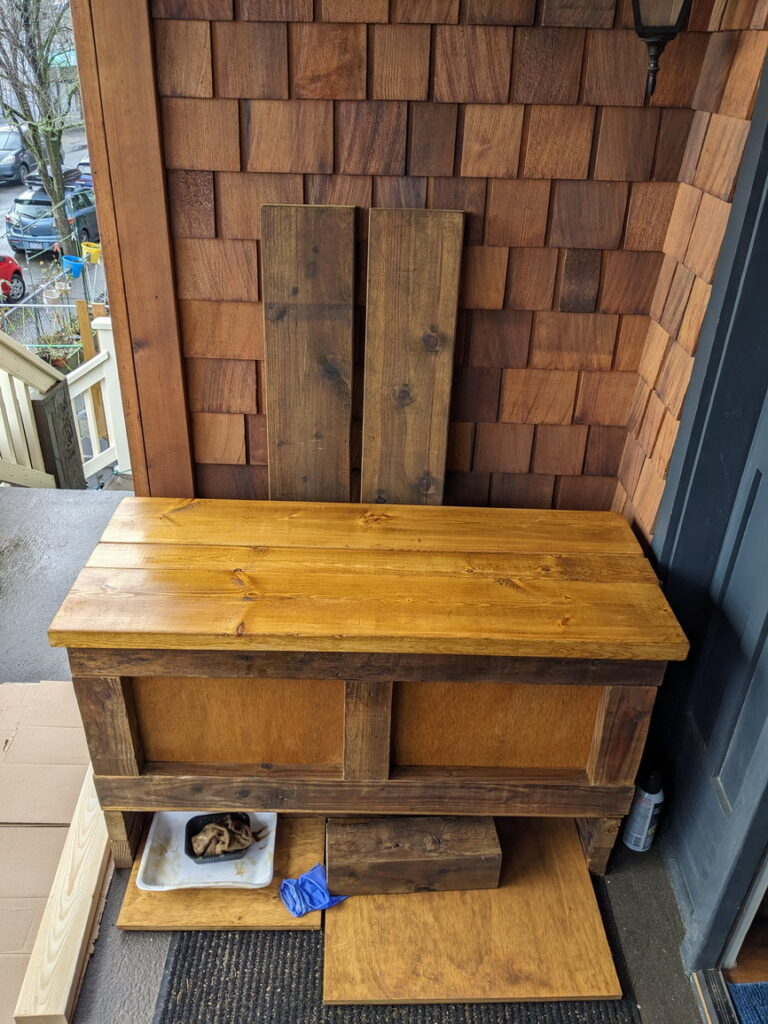
My first custom storage bench
You probably noticed that the shelf is sitting on an outside project of some type. This is what it’s sitting on:
If you have a keen eye, you probably noticed I re-stained it a darker colour by the time I built that desktop shelf above.
The storage bench was my second project. When I look back, it was a challenge and learning experience for a lot of reasons:
- The frame was built with older, harder lumber that I had to reclaim first.
- I changed the design of the toe kick part way through the build.
- I cut the plywood slightly off and it was slightly thicker than planned.
- The adhesive I used was too thick and bright when it dried.
- I finessed a lot of new features on the way to completion.
- The top cover was newer lumber I didn’t dry before assembling.
- It was winter. The stain on the cover literally took three weeks to dry.
I can go on, but now that I’m looking back at it, I’ve learned a lot of little things that might add up to usable knowledge worth sharing.
I’ve since solved each of these problems, and we are very happy with both the utility and look of the unit. I also love knowing I can simply sand and re-stain it when I get bored of it.
Here’s what it looks like when opened:
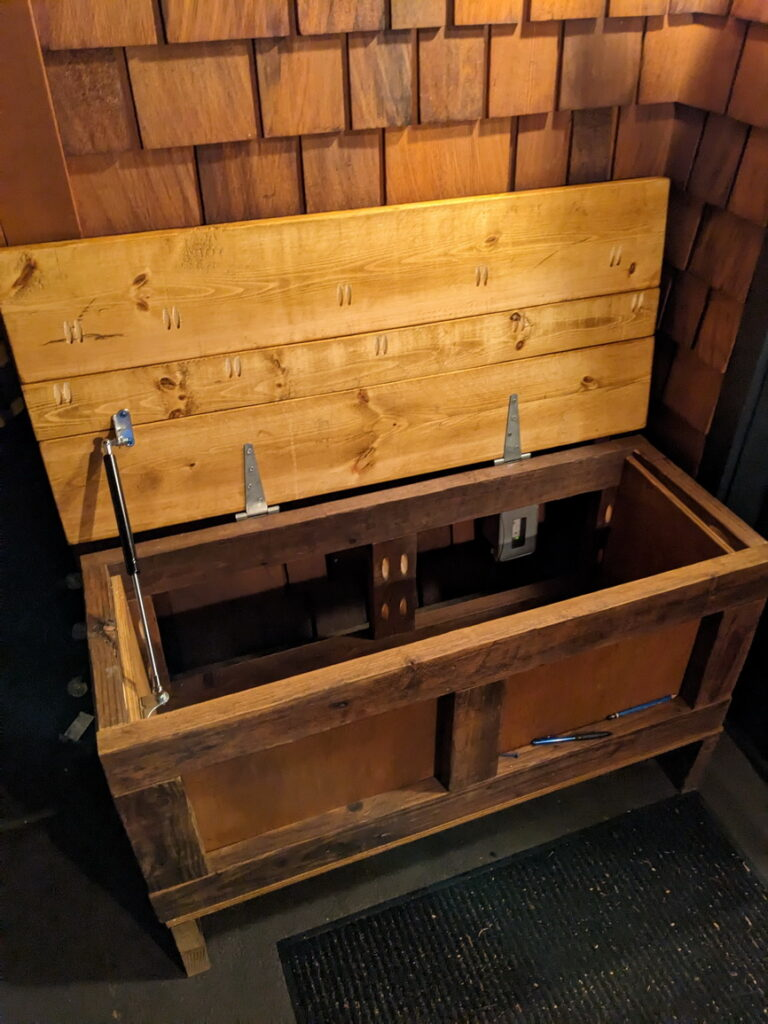
There’s a lot going on here. The pocket holes and the open back for the electrical outlet are the least of these. I’ll walk through all of it in detail in a later post.
More projects
Success with the first one inspired more storage benches for my back deck.
Eventually, I gained enough confidence to try indoor projects, like this shoe shelf. It’s made of half inch plywood. I spackled and painted the cut edges, according to some good YouTube videos.
I had some trouble cutting the rounded top corners for the top, and leveling the front board, but it now sits as an anchor piece at our doorway.
Rather than being annoyed at problems encountered, I’ve learned to see them as opportunities to add skills. This whole thing is a journey.
As a software professional by day, I already know how good it feels to complete a project and see it in good working order.
But there’s nothing quite like seeing a woodworking project you built when you look up from your desk, get something from the kitchen, or put your shoes away in a cubby. It’s just different and more personal.
It gets even better when you’ve built so much stuff that you’ve forgotten about some of your pieces. Or when your friends come over for dinner and ask where you got your deck furniture.
Much of the time, you know the flaws they will find if they look closely, but over time, those flaws become character and you can secretly appreciate them for all they have taught you for your next build.
As I write this, I’m looking at an under-desk shelf I built that I had to adjust and hold in tension with a metal bracket, camouflaged at the back top, until the wood succumbed to time and drying in place. Nobody looks there unless they are dusting. I swore up and down the stairs when I had to install it, but now I secretly love that the bracket was necessary and remains there, holding it all together.
Appreciation is the real reward
When I started, I secretly hoped a day would come when my friends and family would ask me to build something for them. This would indicate that my builds were good enough to use and display in their homes. That’s the biggest compliment I can imagine.
When that day came, I already knew I’d make some mistakes building for them, but I smiled with confidence and started sketching.
I’ll show you some of those builds in the blog. Welcome. Check back for updates once in a while. I’ll keep building.