This was a fun project, but I have to admit it was harder than I expected. There are plenty of step-by-step guides online. I mostly followed this one with a few variations out of necessity and preference, so I won’t duplicate them here. Instead, I’ll focus on lessons I learned by building.
Pay close attention to your actual material dimensions, especially with reclaimed wood
My bench wasn’t going to be exactly the same as any of the plans I’ve seen online, as I was using older, self-reclaimed wood of different dimensions.
It’s more difficult to let your materials dictate what you’re going to build, but one of my objectives was to use up the remaining wood I had anyway.
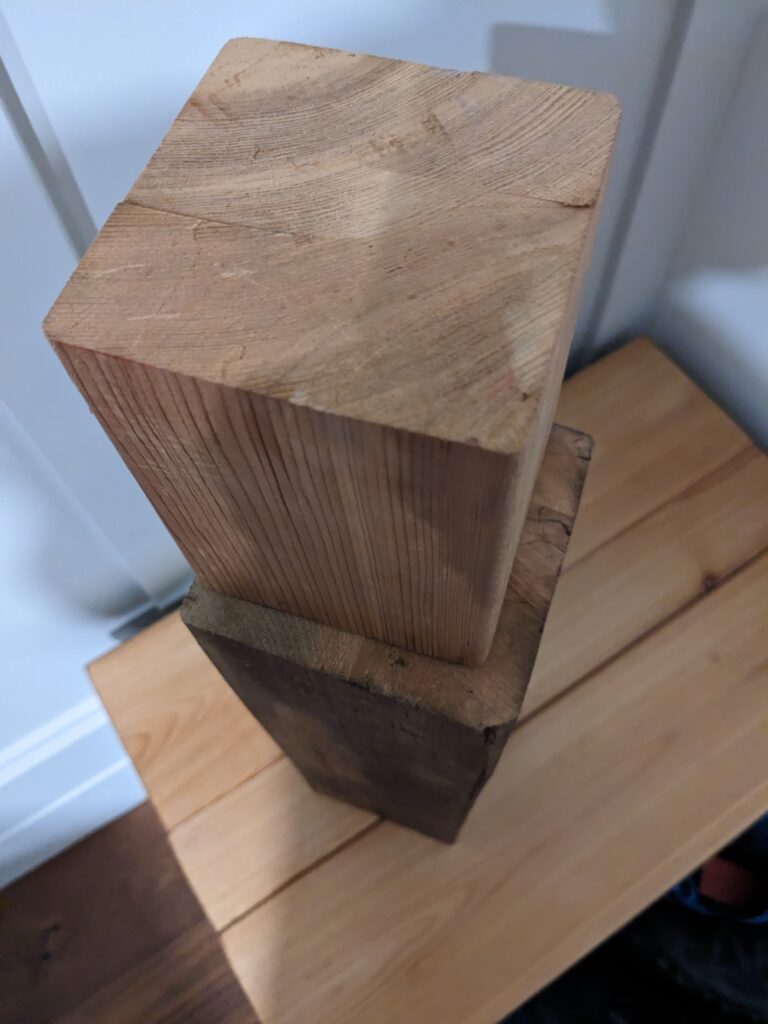
A current-day 4 x 4 actually measures 3.5 inches by 3.5 inches. The old post I cut the bench legs from measured in at 4 inches by 4 inches.
This varied from my original plans, and I didn’t think to measure materials that I just assumed were standard dimensions.
Have a planned method for all your cuts.
The 2 x 4s were standard, easy cuts, but cutting a post this thick for the legs, using a 6.5 inch circular saw can’t be done in one pass. I’ll cover how I sawed the post into 15 inch tall bench legs in another article. I’ll just say, as a beginner, this was harder to get right than I thought, and clamping it down for safety required some thought.
Sand and stain your component pieces first
(if you are patient enough to wait for them to dry and cure). If you’re using wood stain, patience and planning pay off. It might not be obvious that assembling a bench creates “hard-to-stain later” spots.
I was good at following this lesson for a while after my first build. Nowadays, I am guilty of fully assembling before staining when I know I can hide those areas well.
Plan your order of assembly
This might sound like overkill to someone with experience but, in retrospect, I could have avoided some delays and mistakes by simply writing down my steps. For instance, if I had connected the bench’s apron pieces to the bench top first, the drilling angles for the legs would have been much harder to reach.
In fact, I may have required a 90 degree screwing attachment like this one if I had followed a different order than the original plan. This did in fact happen to me when later assembling a plywood shoe rack I had planned poorly.
It’s best to write down your order of assembly when you’re a beginner, but this is also true of more sophisticated projects, even when you have some experience.
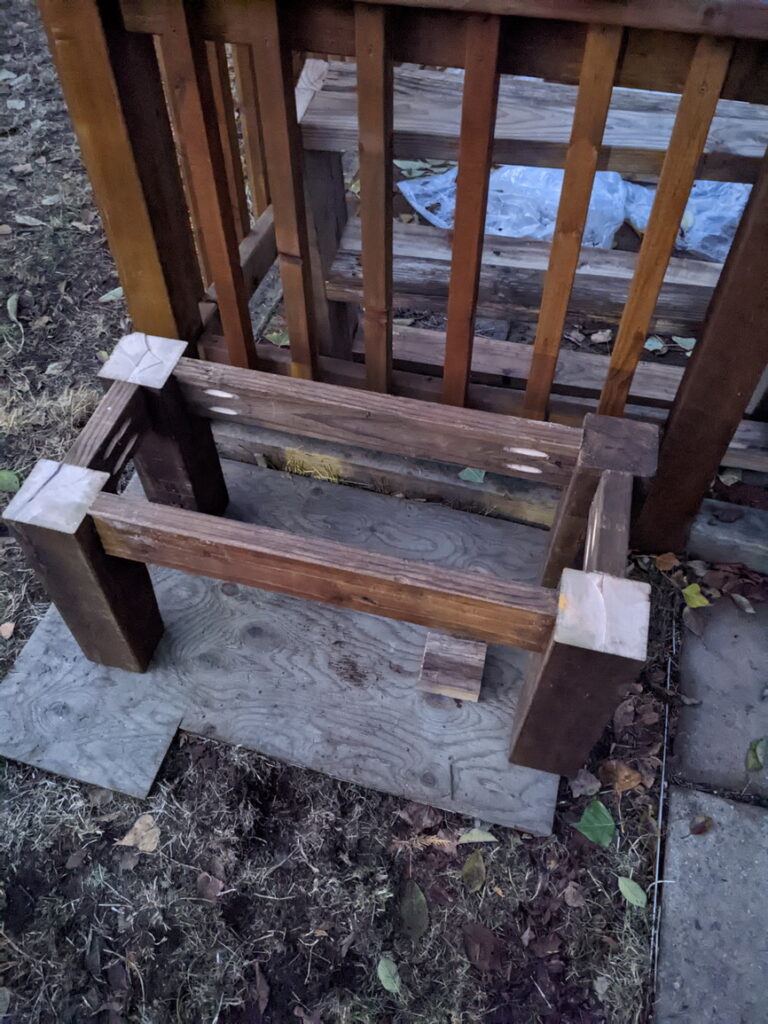
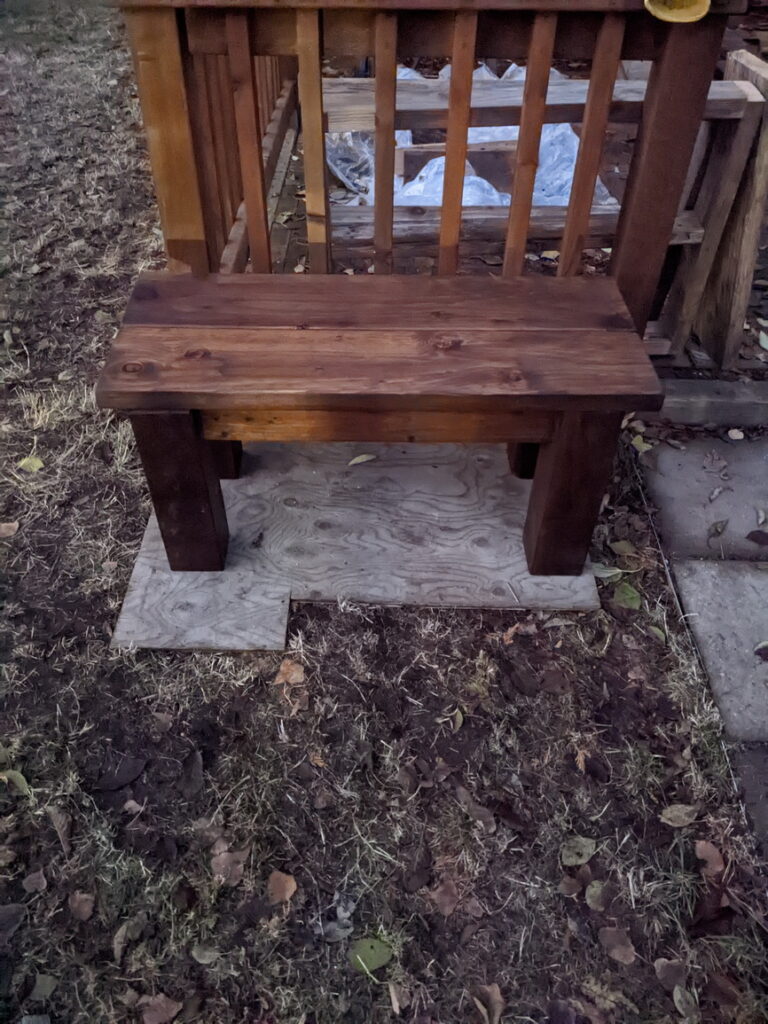
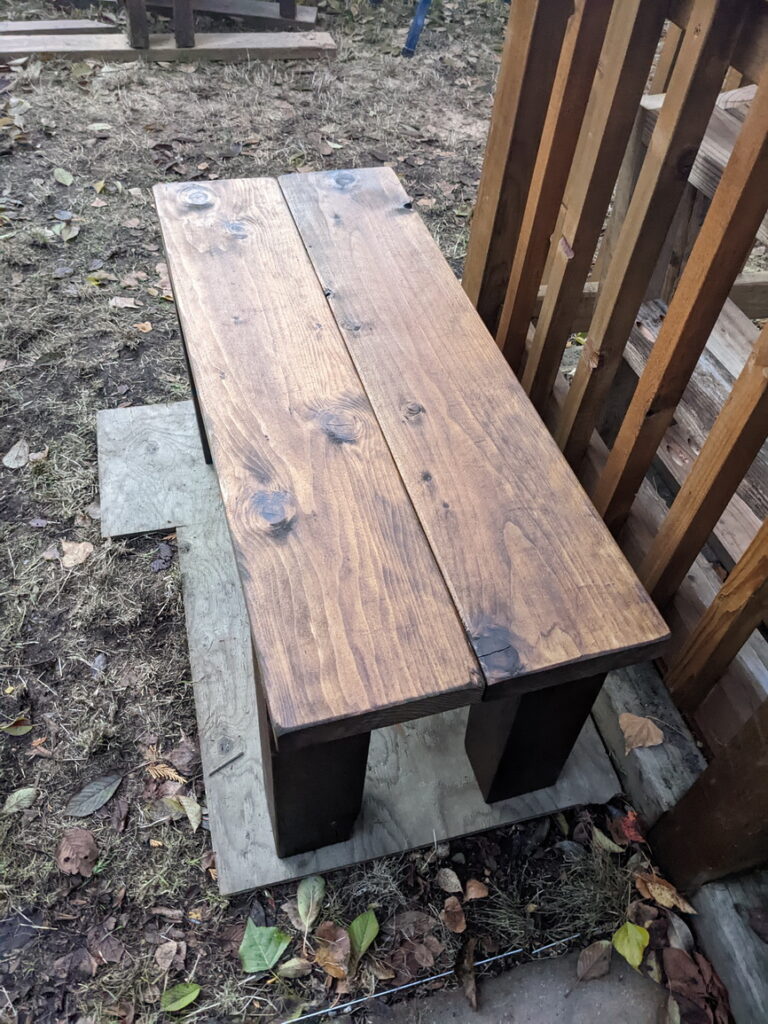
Instead of sketching a specific plan with dimensions, I assumed that following the generalities of this great bench-building guide would produce a similar output. I was forced to finesse a few variations that ended with a bench top flush with the front of the legs instead of having the top overhang the legs by half an inch.
I’m still happy with the result, but I started out thinking I was building something slightly more like the plan.
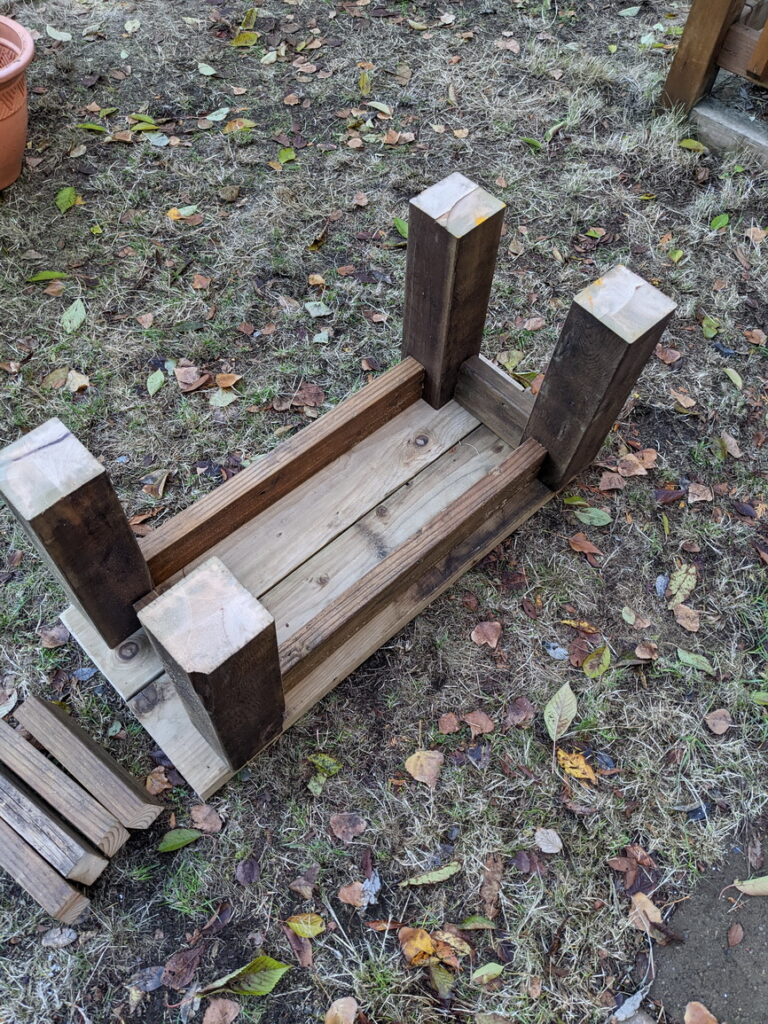
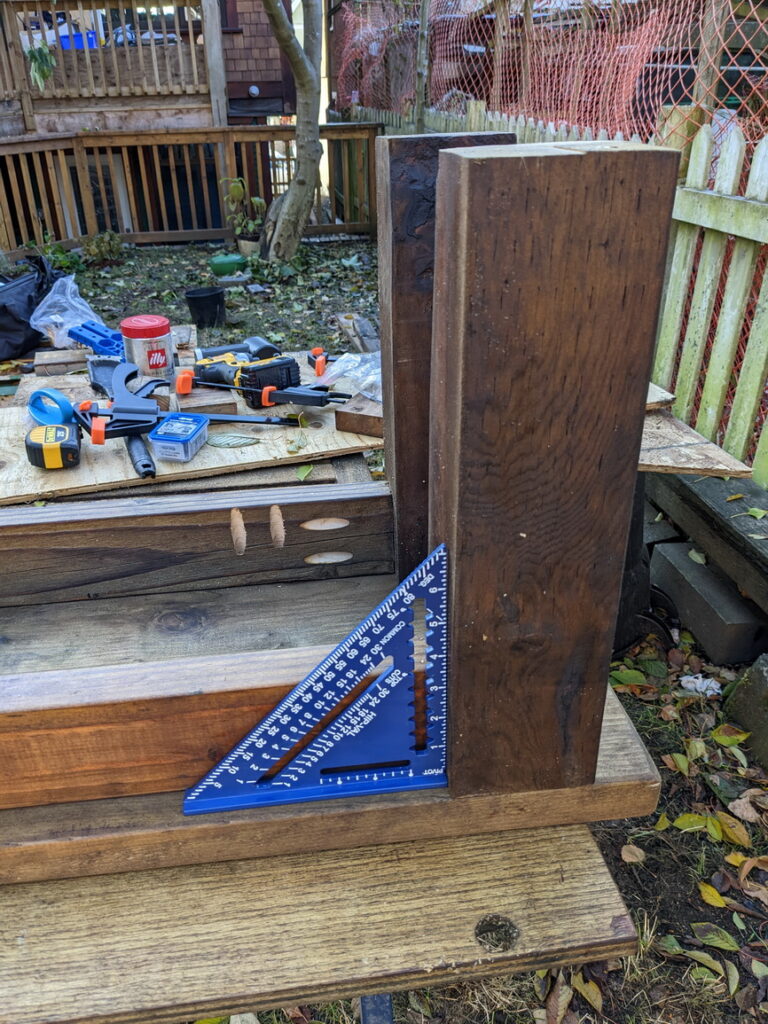
Do a dry fitting of the cut pieces first
This will let you visualize the final 3D position of the pieces and how they fasten together. It’s not always easy to place the cut wood pieces into their final positions, but you can lay out the “apron” and legs of the bench in their upside-down configuration, atop the bench top boards.
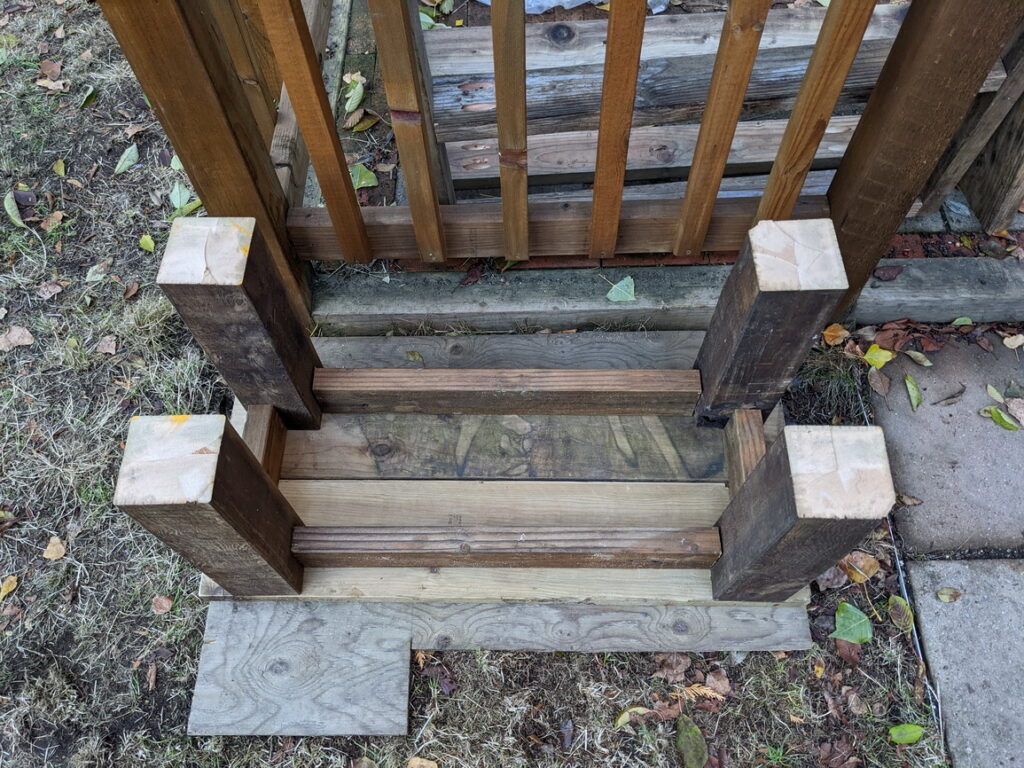
This will give you an idea of the final product, reveal if all your cuts were right, and help you establish an order of assembly if you aren’t going by an already-tested plan.
If you are using reclaimed wood, as I was, you can select the wood faces with the exact character to show on each side.
Use a pre-planned, proven wood joining system
I used the Kreg XL pocket hole jig and the drill bit that came with the kit. I’ll cover the product with my review in another article. In summary, this jig lets you drill pocket holes at exact fifteen degree angles to get strong joins using Kreg XL screws. These screws are coated for outdoor use, and they’re the thickest wood screws I’ve seen for consumer use.
- Use the right amount of power. If your power drill does not have enough torque to drive in the required fasteners (in this case, 2.5 inch long screws so thick they are sort of like miniature rebar), you might need to use an impact driver. My main reason for using an impact drivers was the need for more torque, given the harder, aged wood I was using, but there can be more reasons to use impact drivers on a project. Scott Walsh explains the differences nicely in this video.
- Know your tools. As far as I know, the Kreg drill bits are impact-ready. I’ve used them with my DeWalt impact driver for over a year, and everything has worked safely. Always wear safety goggles and hearing protection! I eventually added the Kreg 720 and Kreg 520 jig kits to my arsenal, but I started with the XL because it was advertised for strong joins between 4 x 4 and 2 x 4 boards. In the videos I saw, some assembly was also done without wood glue, so I appreciated the convenience this afforded me. However, I will disclose that I have since had to buy a replacement drill bit for my XL. I’m not sure if my original seems dulled from expected wear or if I’m driving the bit too fast by apply too much force through harder, reclaimed wood. I found a local shop that said they could sharpen the bit for me, and will cover that in another article.
- Use clamps to steady the boards you are connecting so that everything goes in square. I did most of the work with my regular drill, by had to resort to my impact driver for more torque on the stubborn boards. At one point, I had to push the boards against retaining wall to steady it for the thick screws I drove in.
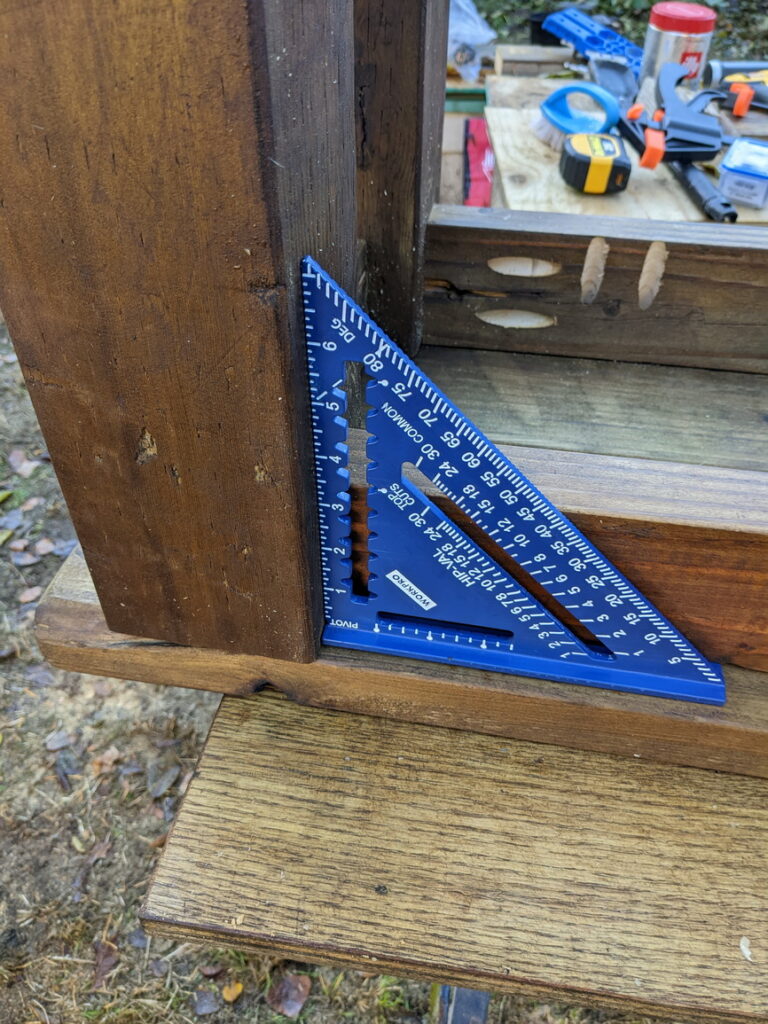
- Know what could go wrong with alignment. Kreg screws have self-tapping heads. They sort of “forward-drill” for themselves as you press them into the wood. The piece that you drilled your pocket holes into have a pre-drilled entry-point that guides the screw in at a 15 degree angle. But once the screw passes through that initial piece, it enters the adjoining surface without a pre-drilled entry point. This means the screw must “tap” the undrilled surface at the speed the driver is spinning and at, with you manually pushing the screw in via the driver. There is potential to push or slide your intended join points out of alignment This still happens to me when I’m lazy about applying enough pressure or, worse, when I don’t use all the clamps I should. I’m getting “luckier” at holding things steady without fully clamping every potential slide, but safe and best practice is always to use clamps.
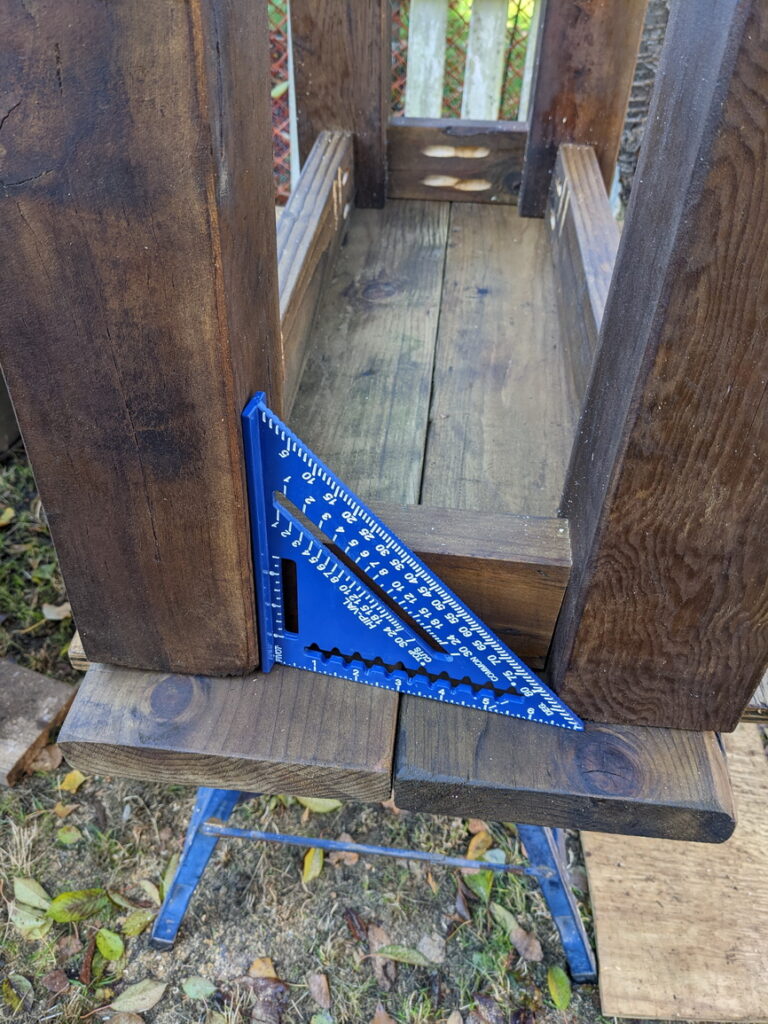
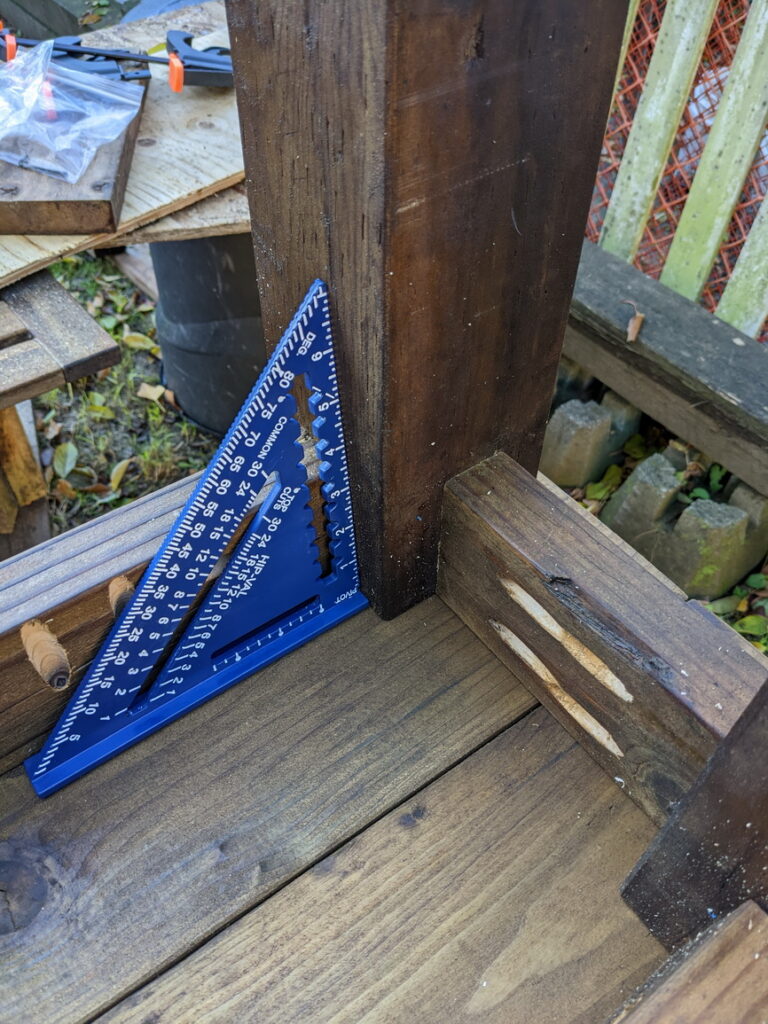
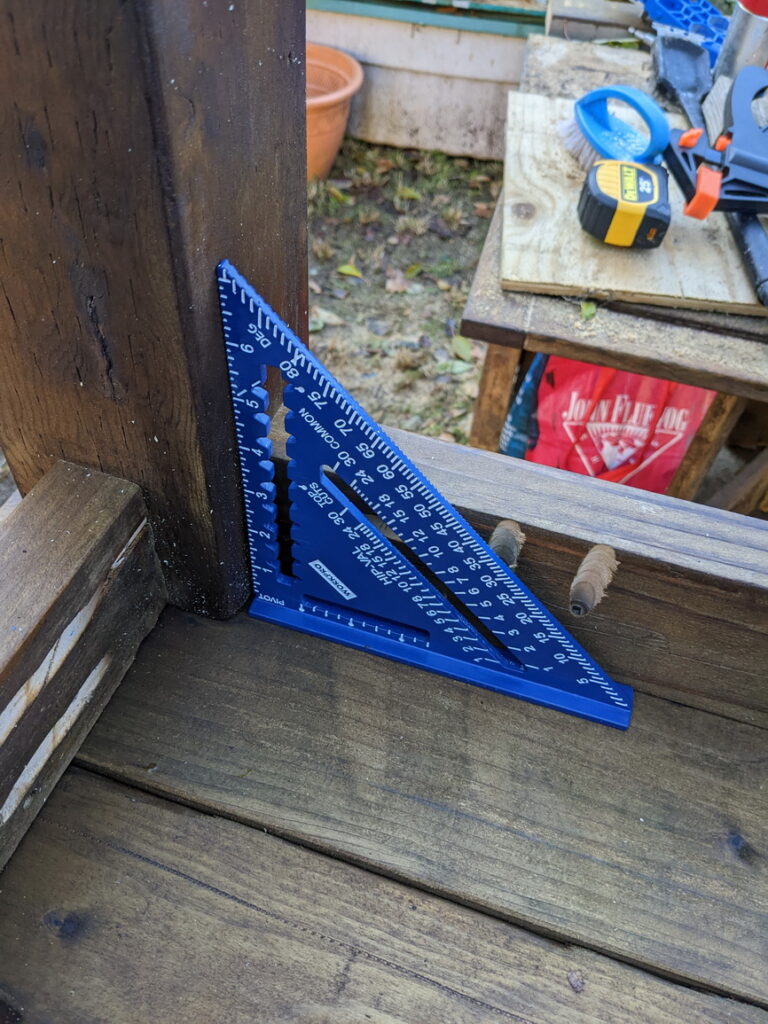
- As you are assembling, measure each right angle to make sure things are staying square. Even a simple structure like this bench can be moving around as you screw things in very tightly. For instance, if you made cuts that weren’t quite straight, but force connected pieces together so that the wood has no choice but to conform to the not-quite-straight edge, it may instead shift to a slightly off-angle position once fastened. For this reason, I tend to “loosely tighten” enough to hold things together on the first pass and go back to final tighten at the end.
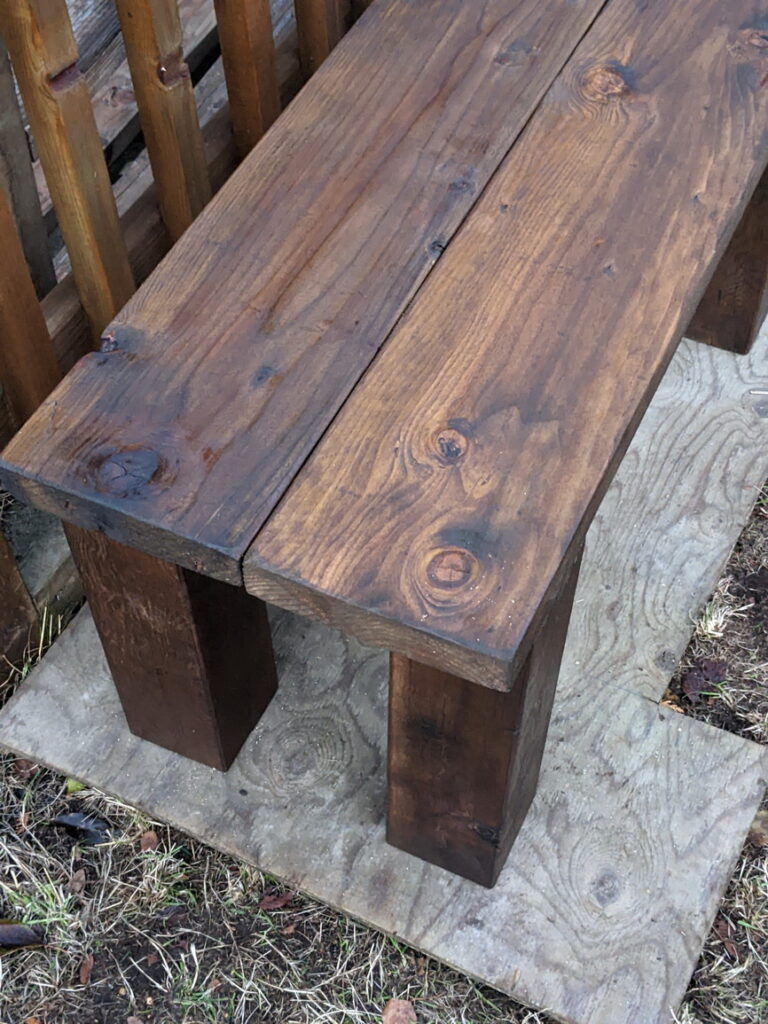
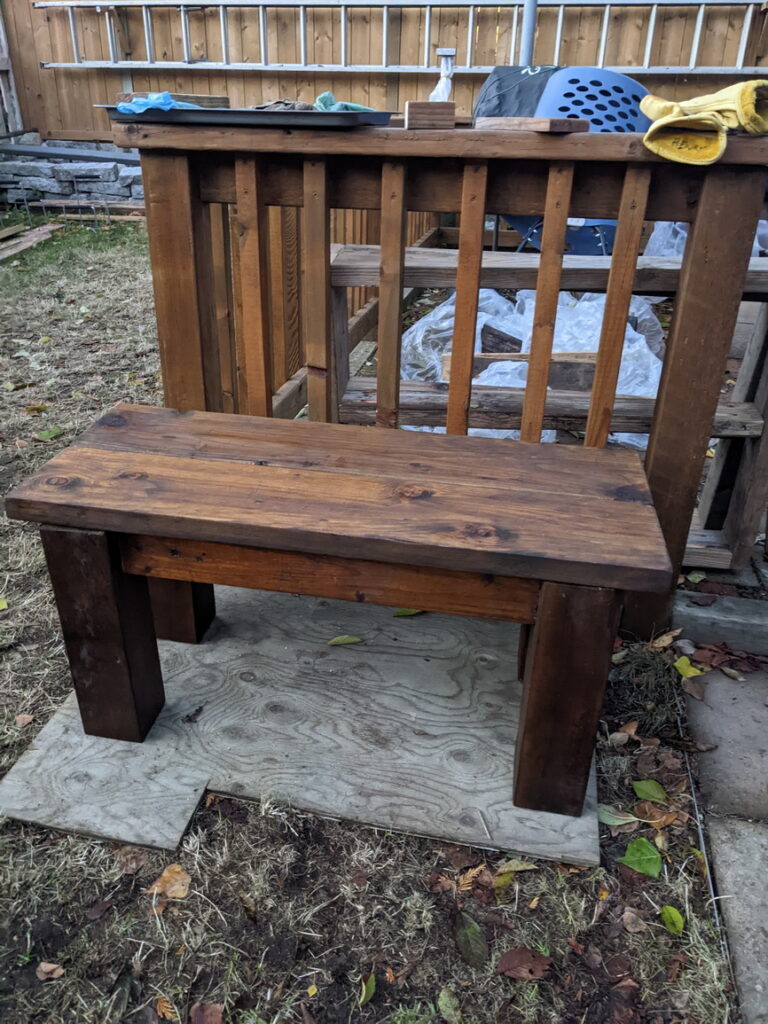
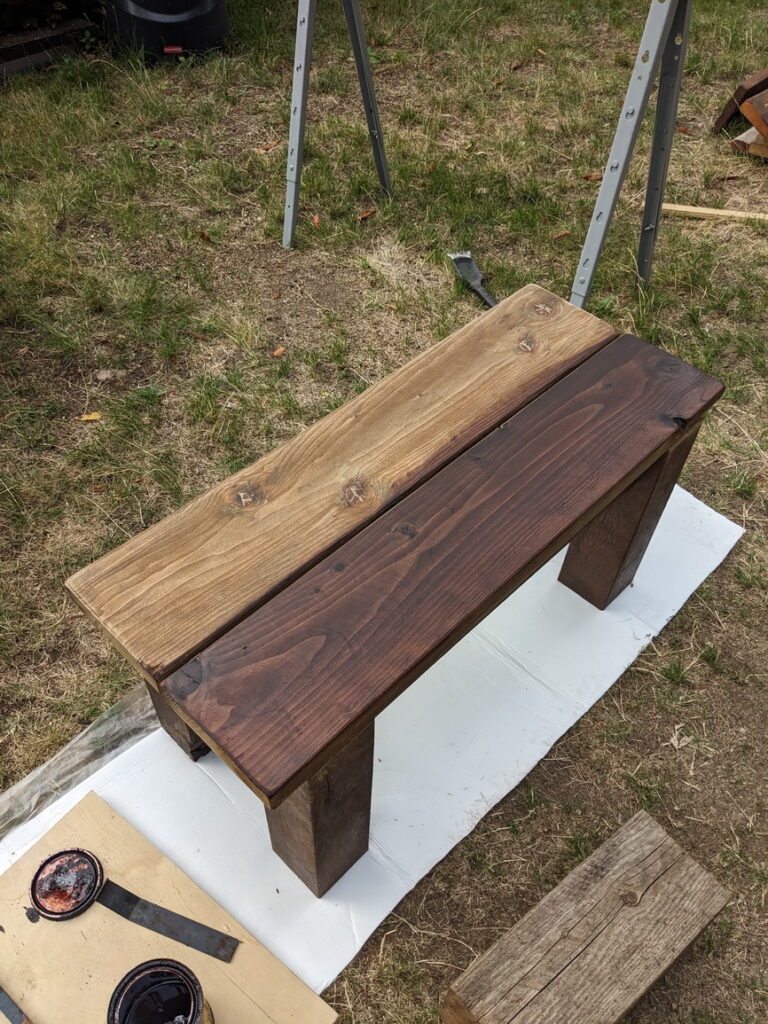
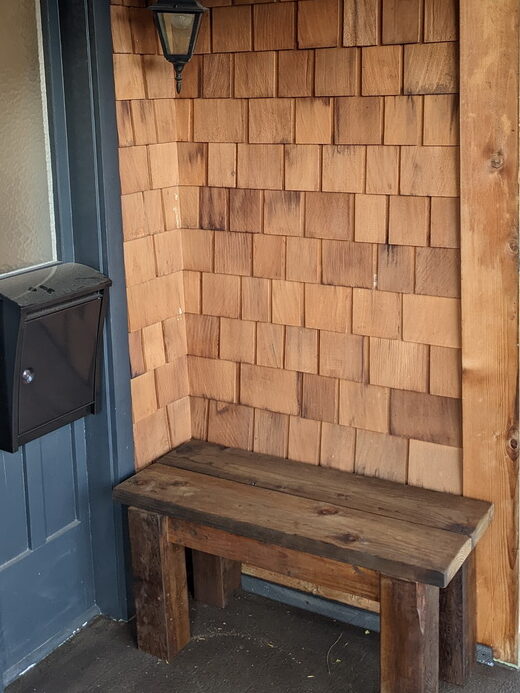
One year later, I decided to sand and refresh the stain with a slight colour change, and added a clear protective coat.

What I love about DIY outdoor furniture is it’s easy to refinish and / or apply a colour change to. I found myself more willing to take a sander to something I had built myself than I would be to something I bought. This isn’t because I value it any less. In fact, I like my imperfect outdoor furniture more than many commercially available alternatives. One standout reason is the sizing and fit to my place are custom to my exact specifications.
Well, that’s it for my first post. I hope it was helpful for you, and see you back here soon!